Create an Admin Panel with Filamentphp
In this tutorial, we are going to create a CRUD operation in a Laravel project with Filament admin panel.
Filament is a library that uses TALL stack to create a beautiful admin panel very fast.
with the help of this library, we are able to do some tasks in minutes that otherwise could take hours or days.
for example, here I will create a crud operation for books.
by the end of this blog post, we will have a working program that uses filament to create, view, update and delete books.
Create a Laravel Project
Filament can be used in existing apps too. but here I will start from scratch.
First, we create a new Laravel project
composer create project laravel/laravel filament-examplebefore installing Filament I am going to add “books” table with some fake data to work with.
Create Book model:
php artisan make:model Bookcreate migrations:
php artisan make:migration create_books_tablemigration code:
    public function up()
    {
        Schema::create('books', function (Blueprint $table) {
            $table->id();
            $table->string('title');
            $table->string('author');
            $table->string('description');
            $table->string('isbn');
            $table->string('publish_year');
            $table->decimal('price');
            $table->timestamps();
        });
    }
php artisan migratenow we are going to seed some fake data into the books table.
create a BookFactory:
php artisan make:factory BookFactory//BookFactory.php
public function definition()
{
return [
'title' => $this->faker->word(),
'author' => $this->faker->name(),
'description' => $this->faker->sentence(),
'isbn' => $this->faker->ean13(),
'publish_year' => $this->faker->year(),
'price' => $this->faker->numberBetween(20, 500),
];
}create BookSeeder:
php artisan make:seeder BookSeederwith this, we will create 20 books in our database:
class BookSeeder extends Seeder
{

    public function run()
    {
        Book::factory(20)->create();
    }
}
finally, seed the data:
php artisan db:seed --class=BookSeedernow we have data in our database. let’s build the admin panel.
install Filament admin panel
install filament with composer:
composer require filament/filament:"^2.0"
publish configs:
php artisan vendor:publish --tag=filament-config
if you don’t have a user already in the database you can create one. we need this user to log in to our admin panel.
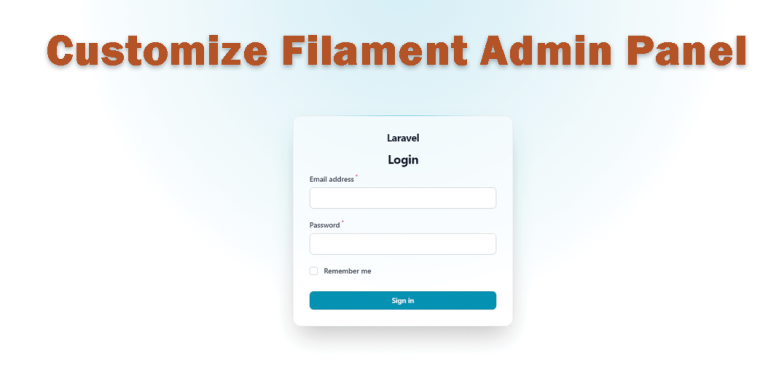
php artisan <span class="hljs-keyword">make</span>:filament-usernow if you go to “/admin” route you will see the login page.
Enter the email and password for the user.

This is the panel after installation.

there is a lot we can do to customize this. for the time being, I just want to show how we can create a crud operation.
Create Book CRUD with Filament
In this panel, we work with “resources“. Everything that we want to work with as a model is considered a resource.
for example, I want to have a CRUD operation for books. so “book” is a resource.
I can create a resource like so:
php artisan make:filament-resource Bookafter running this command a BookResource.php will be created in “app/Filament/Reources”.

and if you look at the panel you will see a “Books” in the sidebar.

if you click on “Books” you will see a table with some empty rows. it is showing database records for the books table but since we did not specify which columns to show, they are empty.

in order to do that we have to use BookResource class.
BookResource class has a few methods.
in table() method we can define the columns we want to show.
 public static function table(Table $table): Table
    {
        return $table
            ->columns([
                //
            ])
            ->filters([
                //
            ])
            ->actions([
                Tables\Actions\EditAction::make(),
            ])
            ->bulkActions([
                Tables\Actions\DeleteBulkAction::make(),
            ]);
    }
this method returns a table class with some methods chaining after each other.
to specify the columns, we need to use the columns method and write in this method what we want to show.
foreach type of column (text,image,icon and …) there is a class in Filament. I use the TextColumn class of Filamentphp like this:
 return $table
            ->columns([
                Tables\Columns\TextColumn::make('title'),
                Tables\Columns\TextColumn::make('author'),
                Tables\Columns\TextColumn::make('publish_year'),
                Tables\Columns\TextColumn::make('price'),
            ])
for each column I want to show, I have to use make() method of TextCoumn. inside that method, I pass the name of the column. the table and data will be ready.

because we just wanted to show regular text we used TextColumn. Filament provides a few more column types.
here are a few examples.
- Icon Column.
- Color Column.
- Image Column.
you even can make your own custom columns.
By default column titles of the database table are shown in table’s header, we can define a label for each column using label() method:
                Tables\Columns\TextColumn::make('title')->label('name'),
                Tables\Columns\TextColumn::make('author')->label('writer'),
                Tables\Columns\TextColumn::make('publish_year')->label('year'),
                Tables\Columns\TextColumn::make('price'),
to sort the table you can use defaultSort() method:
  ->columns([
                Tables\Columns\TextColumn::make('title')->label('name'),
                Tables\Columns\TextColumn::make('author')->label('writer'),
                Tables\Columns\TextColumn::make('publish_year')->label('year'),
                Tables\Columns\TextColumn::make('price'),
            ])->defaultSort('created_at','desc')
now we have created a list of books without writing any UI code and only a little PHP.
Create Book Form
we need a form to add books to our database. in the “Books” page we have “New Book” Button above the table. by clicking that we go to a “/admin/book/create” route. at this point it only have three buttons and no input fields. we have to add the input elements we want.
To do that we use form() method in BookResource class.
this method is used to build Create and Edit Forms:
  public static function form(Form $form): Form
    {
        return $form
            ->schema([
                Forms\Components\TextInput::make('title')->required(),
                Forms\Components\TextInput::make('author')->required(),
                Forms\Components\TextInput::make('description'),
                Forms\Components\TextInput::make('isbn'),
                Forms\Components\TextInput::make('publish_year'),
                Forms\Components\TextInput::make('price'),
            ]);
    }
you can set validation rules for each input. I set required for “title” and “author”.
there are other methods for validation with the same name as Laravel validation rules.

now our form is created:

we can fill in the inputs and create a new book.
make sure to define fillable columns in the model or set $guarded=[]
 <span class="hljs-class"><span class="hljs-keyword">class</span> <span class="hljs-title">Book</span> <span class="hljs-keyword">extends</span> <span class="hljs-title">Model</span></span>{
    use <span class="hljs-type">HasFactory</span>;
<span class="hljs-keyword">protected</span> $guarded = [];

}
after filling out and submitting the form, Filament will show you a success flash message.

now let’s go and edit the book we created. we go back to books page.

by clicking on edit we go to Book Edit page.
On this page, we have the same form we had in Create page:

we can edit and delete the record from here.
Conclusion
This was a simple example to show how to view, create, update, and delete a resource with Filament.
Filament admin panel has a lot of other capabilities. you can check out the documentation and start building more complex apps.


